Butt-weld pipe fittings are a crucial component in various industries, including oil and gas, petrochemical, water treatment, and power generation. These fittings are designed to provide leak-free connections, ensuring the safe and efficient transfer of fluids or gases through pipelines. To guarantee their quality and reliability, it is essential to conduct thorough testing and inspection procedures throughout the manufacturing process.
In this article, we will discuss the various tests and inspection methods for butt-weld pipe fittings to ensure their integrity, reliability, and compliance with industry standards.
1. Visual Inspection of Butt-Weld Pipe Fittings
Visual inspection is the first step in evaluating the quality of butt-weld pipe fittings. It involves examining the surface condition, weld seam, dimensions, and markings of the fittings. Inspectors look for any signs of defects, such as cracks, dents, or uneven surfaces, which could compromise the fitting’s performance. Additionally, they verify that the product markings, such as size, material grade, and manufacturer’s name, are correct and legible.
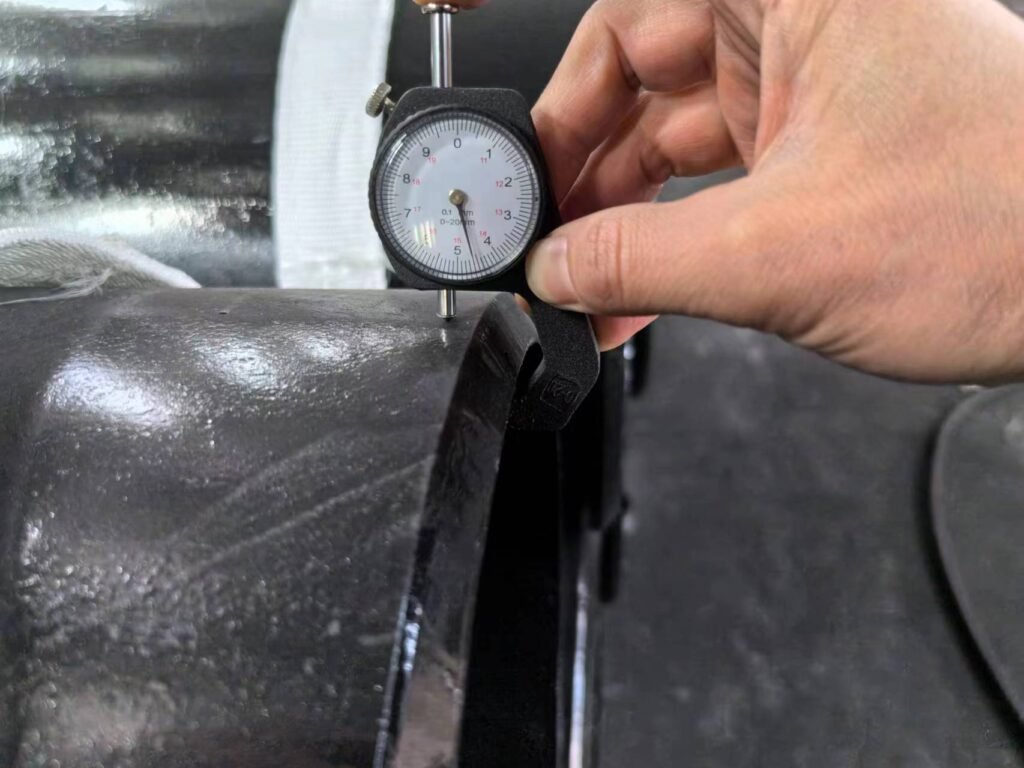
2. Dimensional Inspection of Butt-Weld Pipe Fittings
Dimensional inspection ensures that the butt-weld pipe fittings meet the specified dimensions and tolerances according to the relevant standards, such as ASME B16.9 or MSS SP-75. This process includes measuring the diameter, thickness, and length of the fittings, as well as the radius of elbows and the height of tees. Accurate dimensions are critical to ensure proper alignment, fit, and sealing when connecting pipes and equipment.

3. Material Inspection of Butt-Weld Pipe Fittings
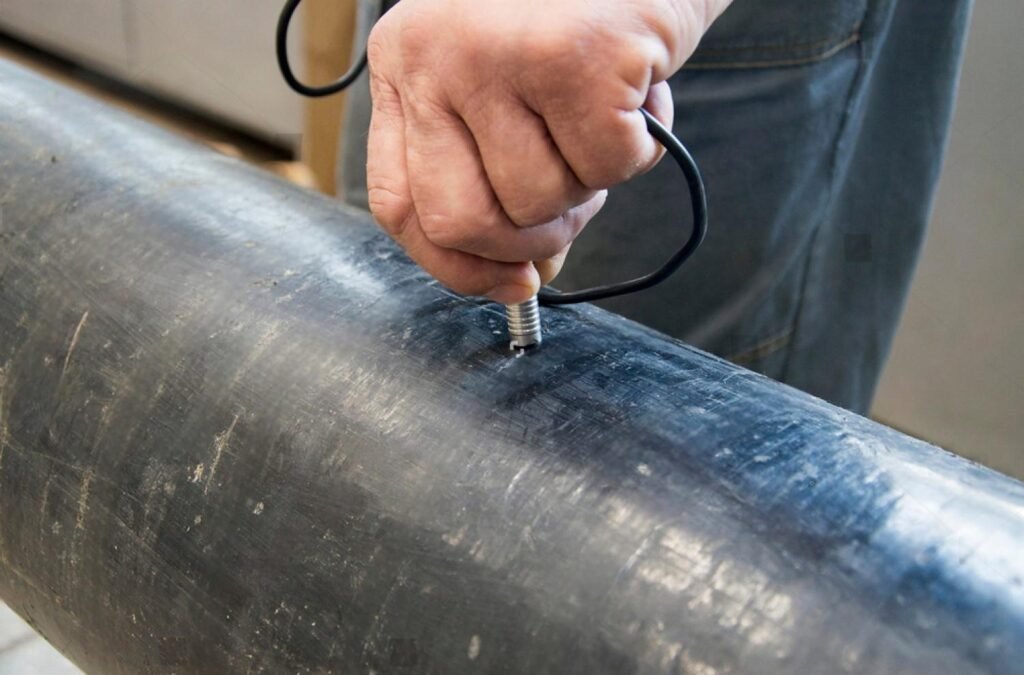
Material inspection verifies that the butt-weld pipe fittings are made from the appropriate materials as specified by the applicable standards. Inspectors may review material test reports (MTRs) or mill certificates to confirm the material’s chemical composition and mechanical properties, such as tensile strength, yield strength, and elongation. In some cases, they may also perform positive material identification (PMI) tests using handheld X-ray fluorescence (XRF) analyzers to verify the material’s composition on-site.

4. Destructive Testing of Butt-Weld Pipe Fittings
Destructive testing involves sacrificing a sample fitting to evaluate its mechanical properties and verify that it meets the required specifications. Some common destructive tests for butt-weld pipe fittings include:

- Tensile Test: This test measures the tensile strength and elongation of the material by applying a force until the sample breaks. It helps determine the material’s ability to withstand stretching and deformation under load.
- Bend Test: The bend test evaluates the ductility and soundness of the weld by bending the sample around a specified radius without cracking or breaking. This test is particularly important for welded fittings, as it ensures the weld quality and integrity.
- Impact Test: The impact test assesses the material’s toughness and resistance to sudden shock or impact forces by subjecting the sample to a high-velocity blow. This test is particularly relevant for low-temperature applications where materials may become brittle.
5. Non-Destructive Testing (NDT) of Butt-Weld Pipe Fittings
Non-destructive testing (NDT) techniques allow inspectors to examine the quality and integrity of butt-weld pipe fittings without causing any damage to the product. Some widely used NDT methods include:
- Radiographic Testing (RT): RT uses X-rays or gamma rays to detect internal discontinuities, such as porosity, slag inclusions, or incomplete penetration, in the weld area. This method provides a permanent record in the form of radiographic films, which can be reviewed and analyzed.
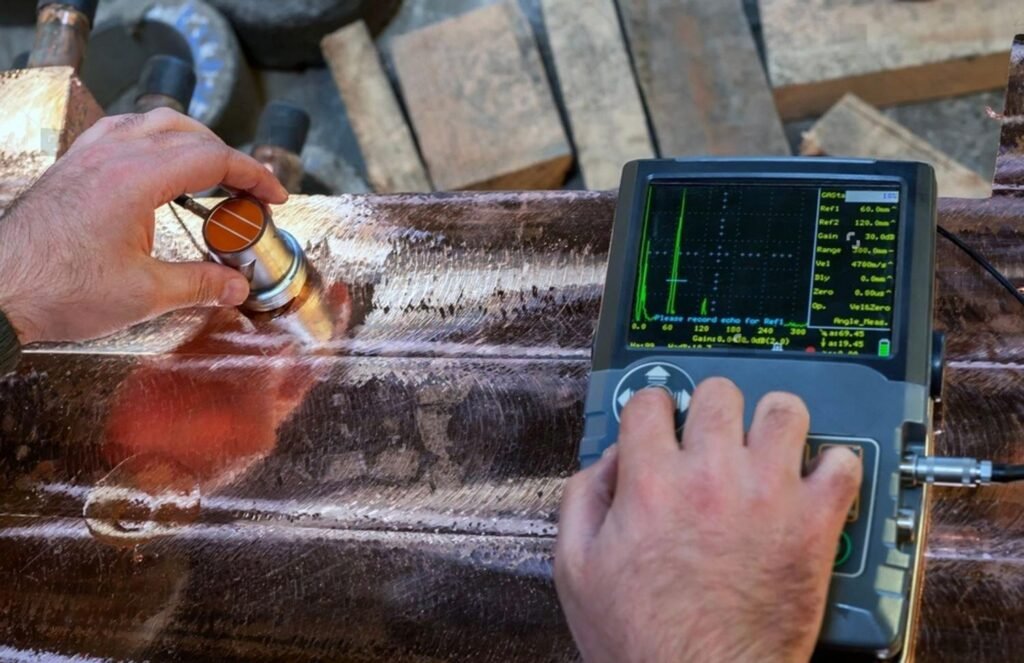
- Ultrasonic Testing (UT): UT uses high-frequency sound waves to detect internal defects and measure the thickness of the fittings. This technique is highly sensitive and can identify small flaws or discontinuities in the material.
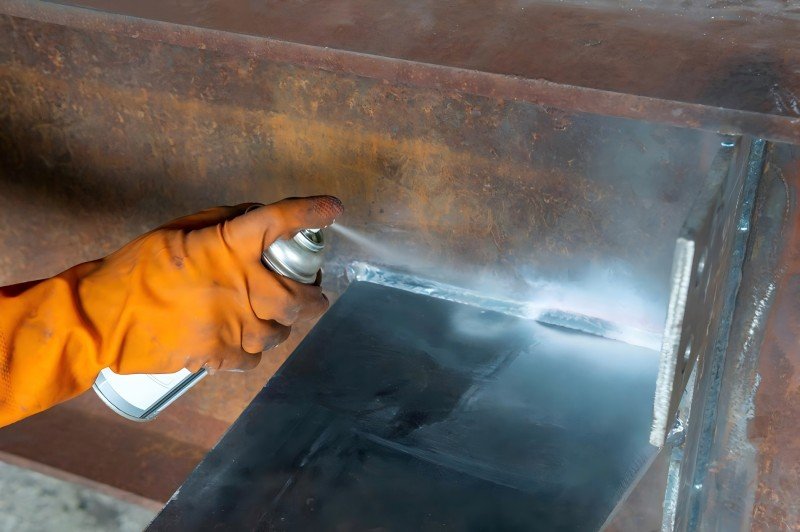
- Magnetic Particle Testing (MT): MT is a surface inspection method that detects cracks, seams, or other discontinuities in ferromagnetic materials. It involves applying a magnetic field to the fitting and using fine magnetic particles to reveal surface defects.
In conclusion, proper testing and inspection of butt-weld pipe fittings are critical to ensure their quality, reliability, and compliance with industry standards. By implementing a comprehensive testing and inspection program, manufacturers can identify and address potential issues, guaranteeing the performance and safety of their products in various applications.
#JSFITTINGS #RAYOUNG #STEELPIPE #FLANGE #STEELPIPE #MADEINCHINA #MANUFFACTURER #FACTORY #PIPEELBOW #PIPE REDUCER #INDUSTRYFLANGE
Email: admin@jsfittings.com
Whats App: 008618003119682


